I am so excited to share my first project reveal of 2018! If it’s not common knowledge, it takes a long time to actually get a room posted to the blog. The actual design process has to happen, the installation, and then photos. Due to numerous reasons, photos don’t always happen right away and that means going back and restyling everything weeks or months down the road. But, I like that people get to live in the spaces for a little while so that the room has a more authentic feel to it when we take photos. Sometimes I still edit out the “everyday things” but a lot of times the little layers that my clients add on their own stay. In the case of this kid bedroom, I finished the project last year, styled it for photos late spring, and am finally writing this post.
Project:
#WindstreamBoyGirlBedroom
The Challenge:
Create a shared bedroom for a brother and sister
The Other Challenge:
Create the space for $500
Yep, you read that right…$500! There is a big difference in the design process when you are working with a limited budget. You have to be open minded on where things come from, willing to buy things online without knowing for certain the quality, and you have to snag things spur of the moment if a good deal comes up. These were repeat clients so I knew they would be easy going enough to make this work. But, they were not wavering on this budget…$500 start to finish, furniture and everything and I’m proud to say we did it! And we did it without sacrificing personalized style!
BEFORE
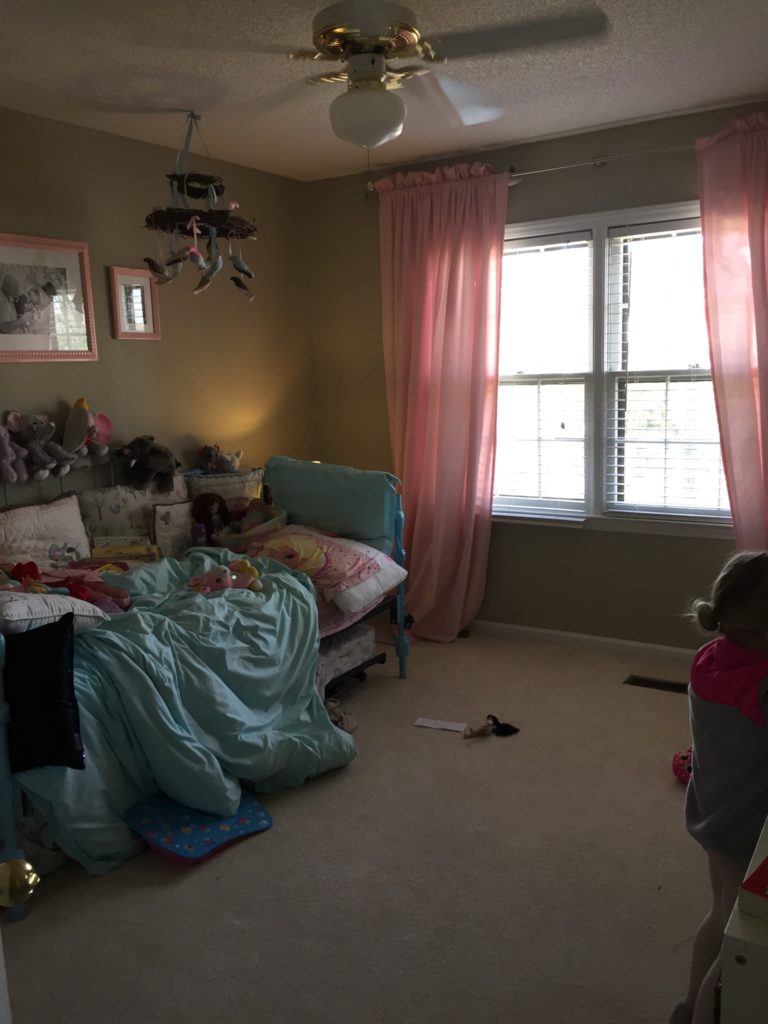
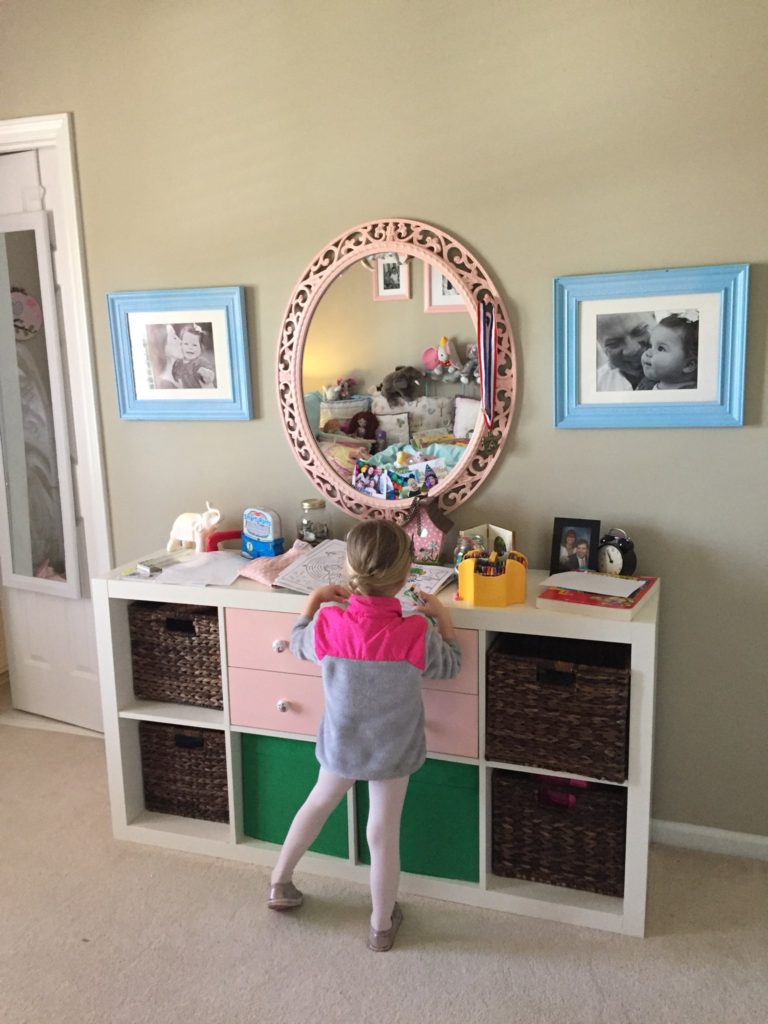
The room was originally just their daughter’s with their son in his own room next door. With a new baby on the way they decided to join the two older siblings but they wanted to make sure each child still had their favorite things and a space all their own. Their only stipulation to me was that we had to use bunkbeds and they wanted a desk area for the kids. Ready, set, here’s what we did…
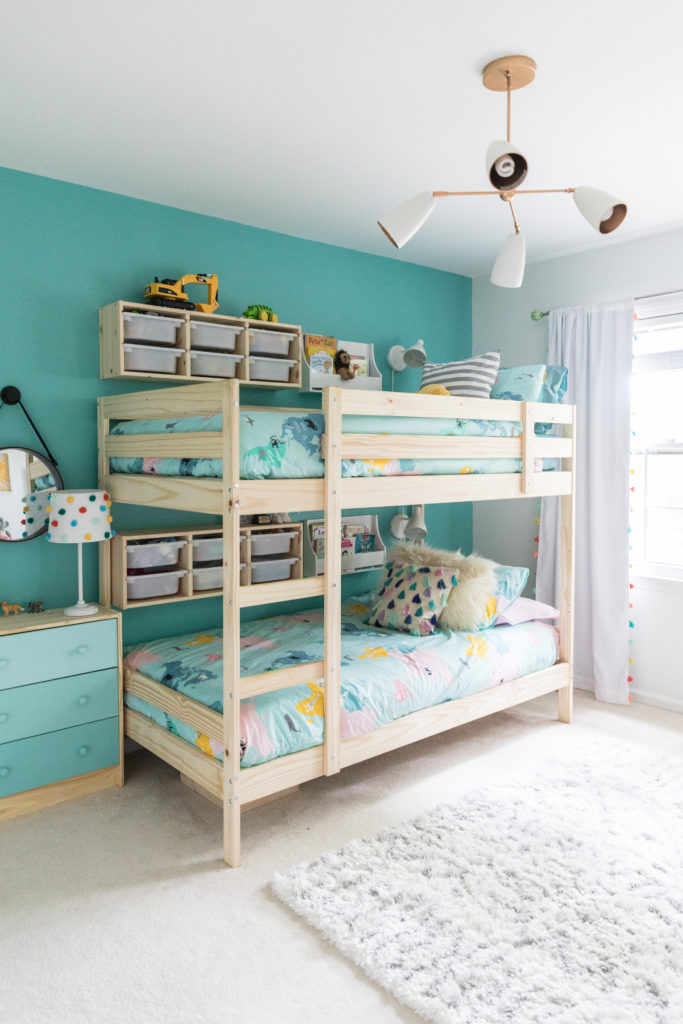
AFTER
Solutions:
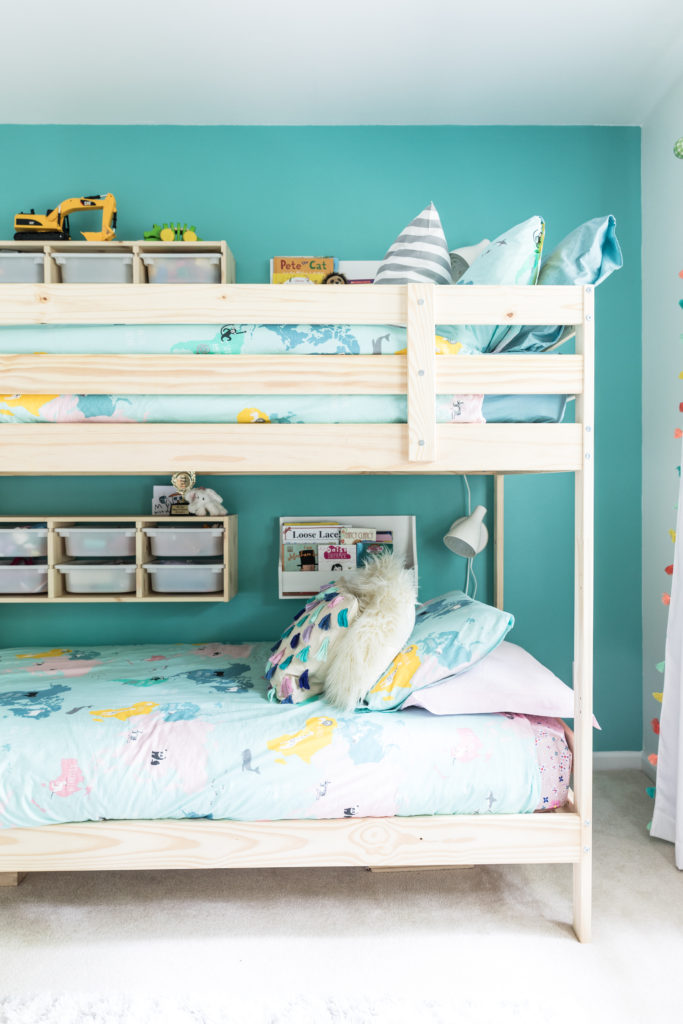
We chose inexpensive kids furniture that will still have plenty of longevity through the next 3-5 years.
We chose furniture that is neutral enough that bedding and accessories can be swapped out as their preferences change.
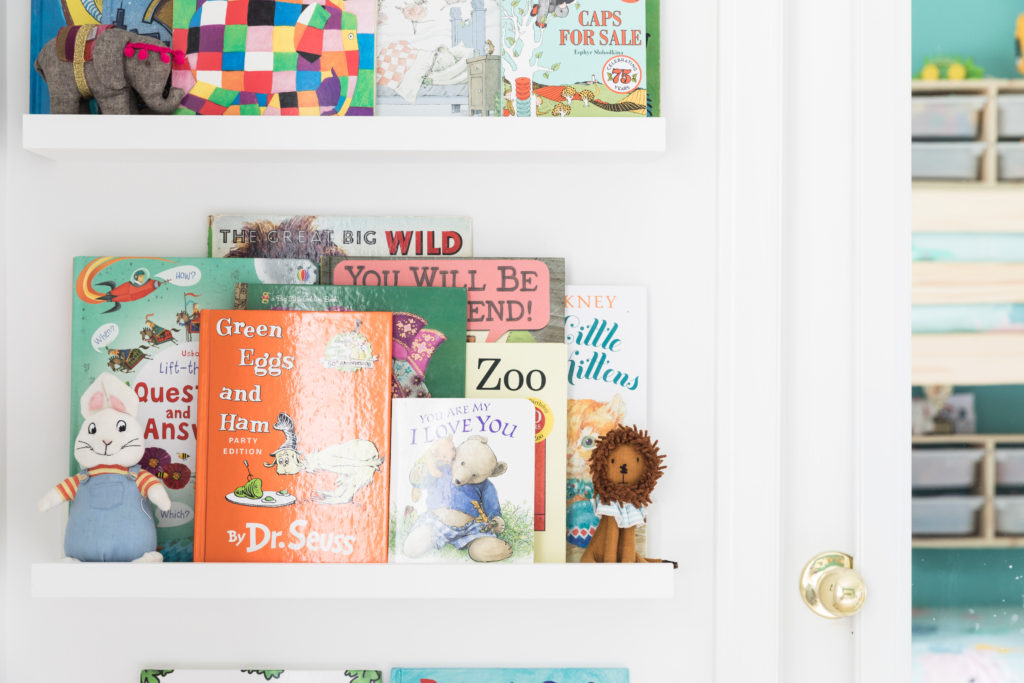
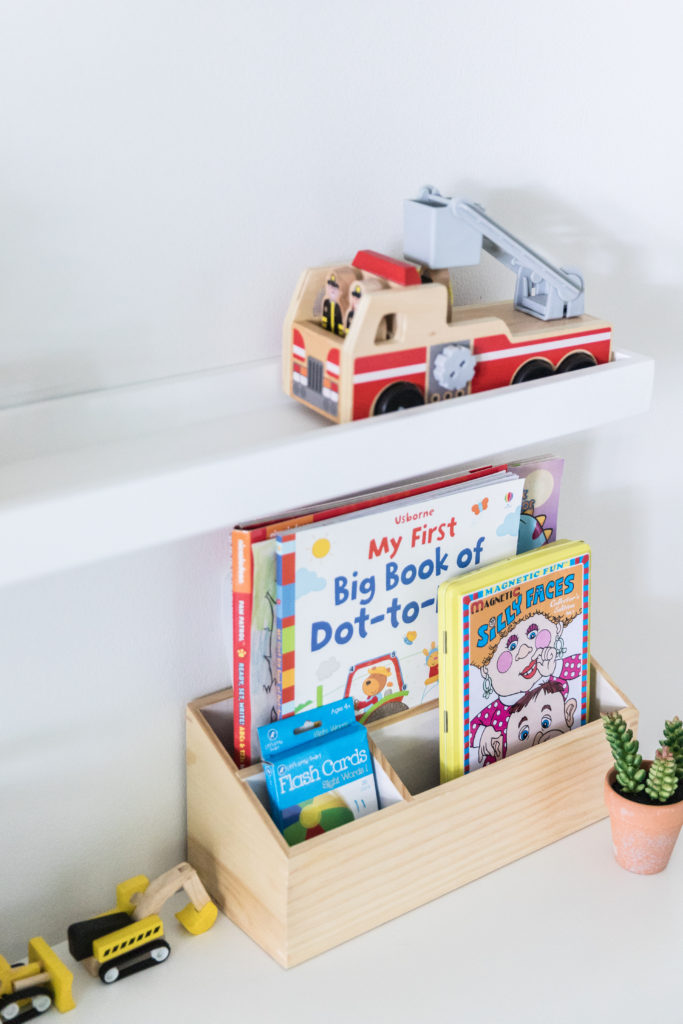
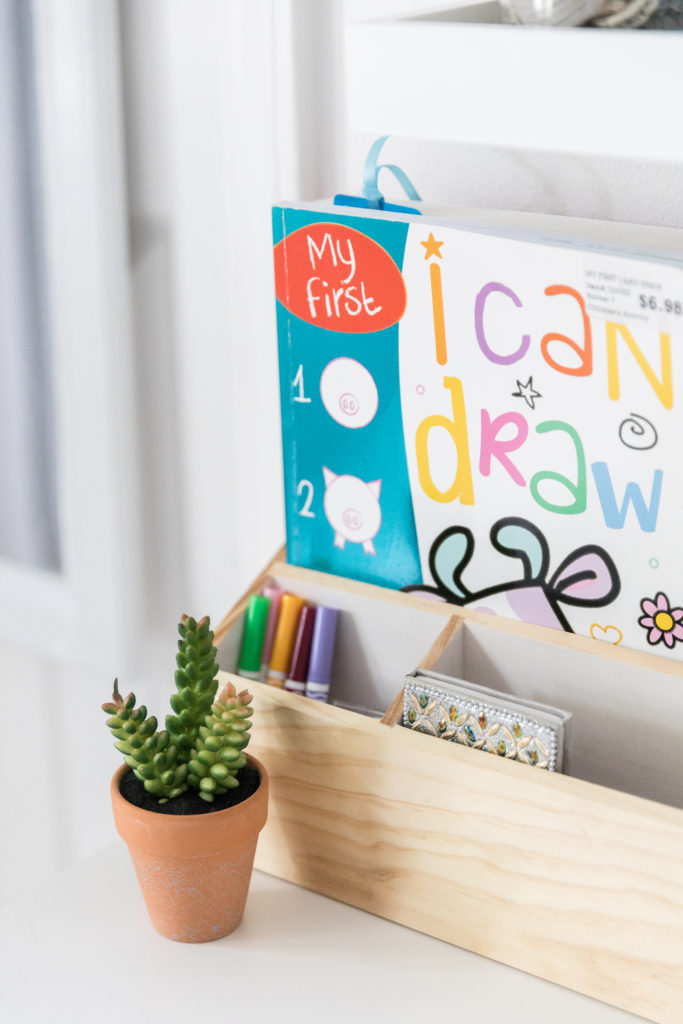
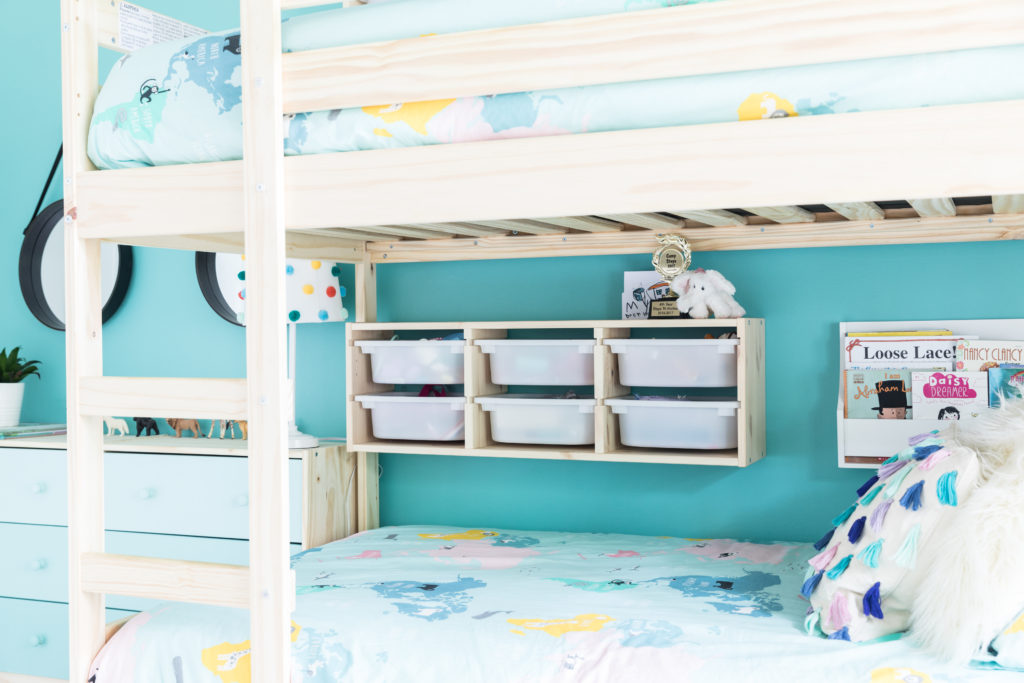
We found ways to include a lot of storage for toys, books, and craft supplies. We also added two small dressers for added clothes storage.
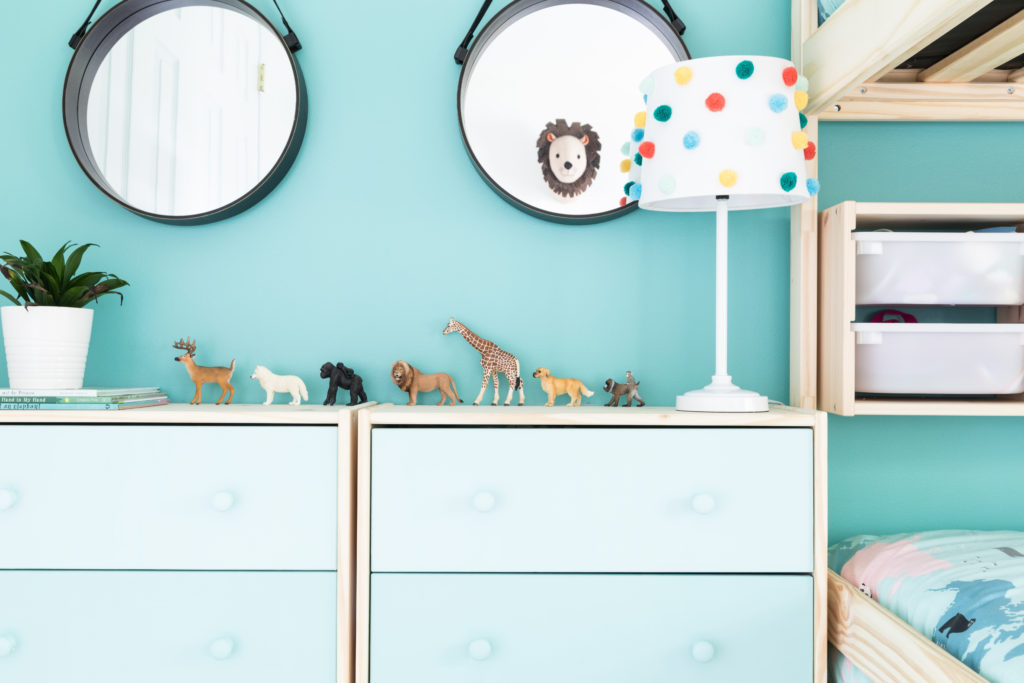
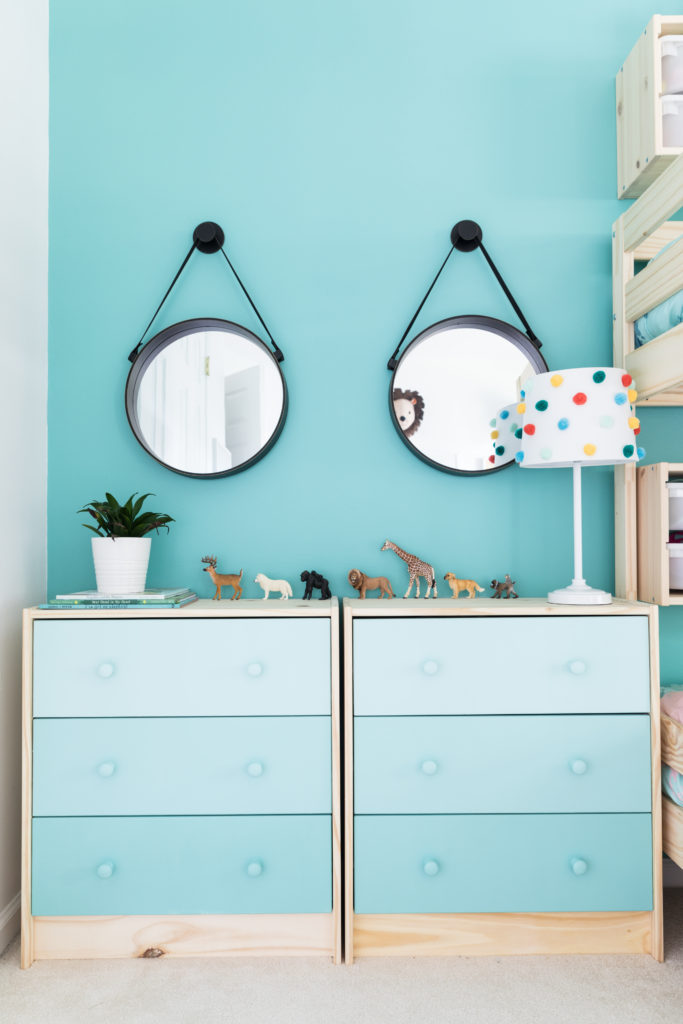
We used paint to create a focal wall…giving the kids a fun burst of color and the parents a break from too much color. These handy parents were also game to jazz the dressers up a bit so they painted the drawers an ombre effect (we used colors from the same paint card as the wall color.)
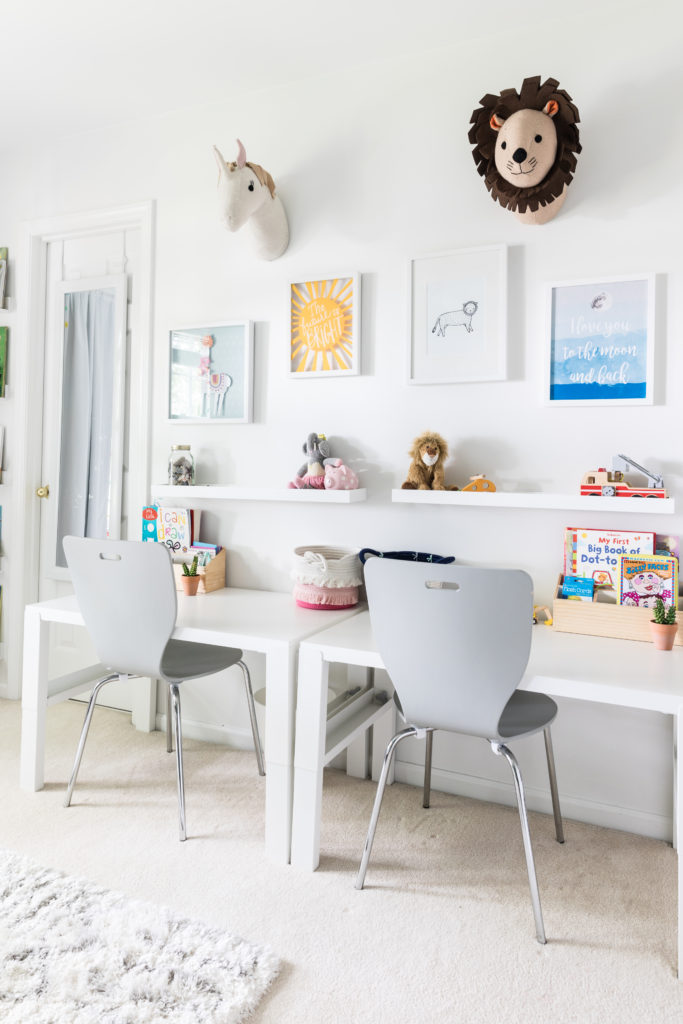
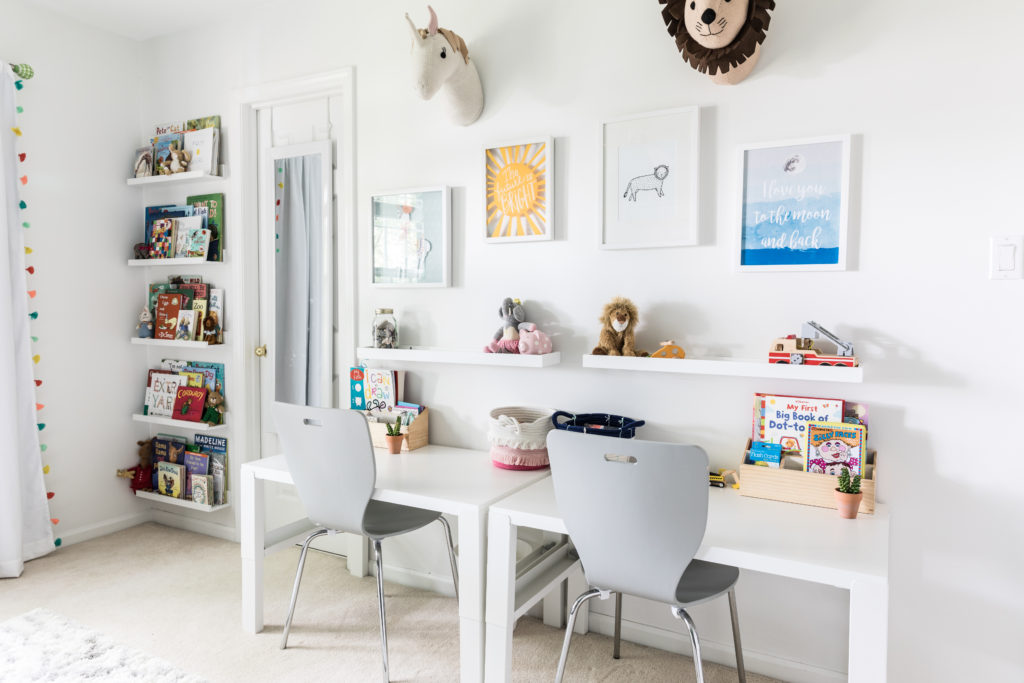
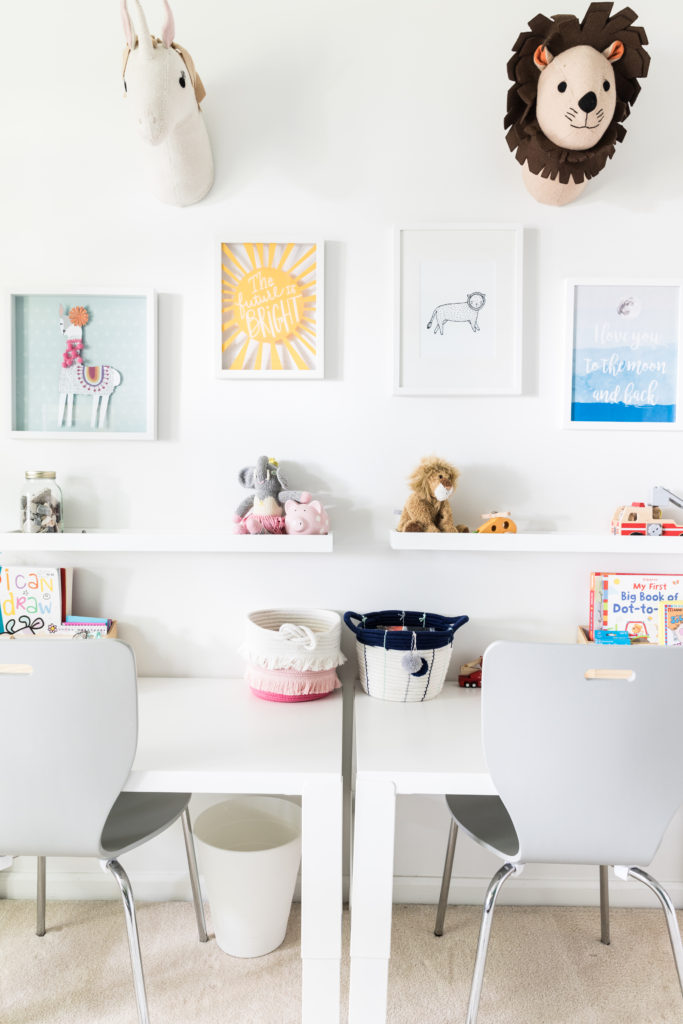
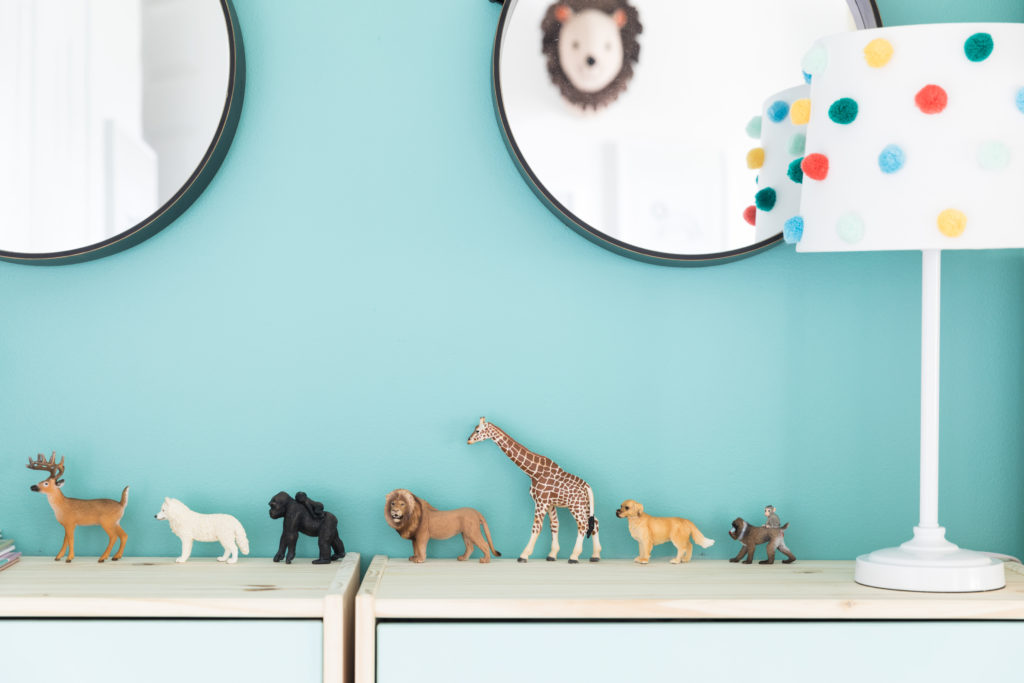
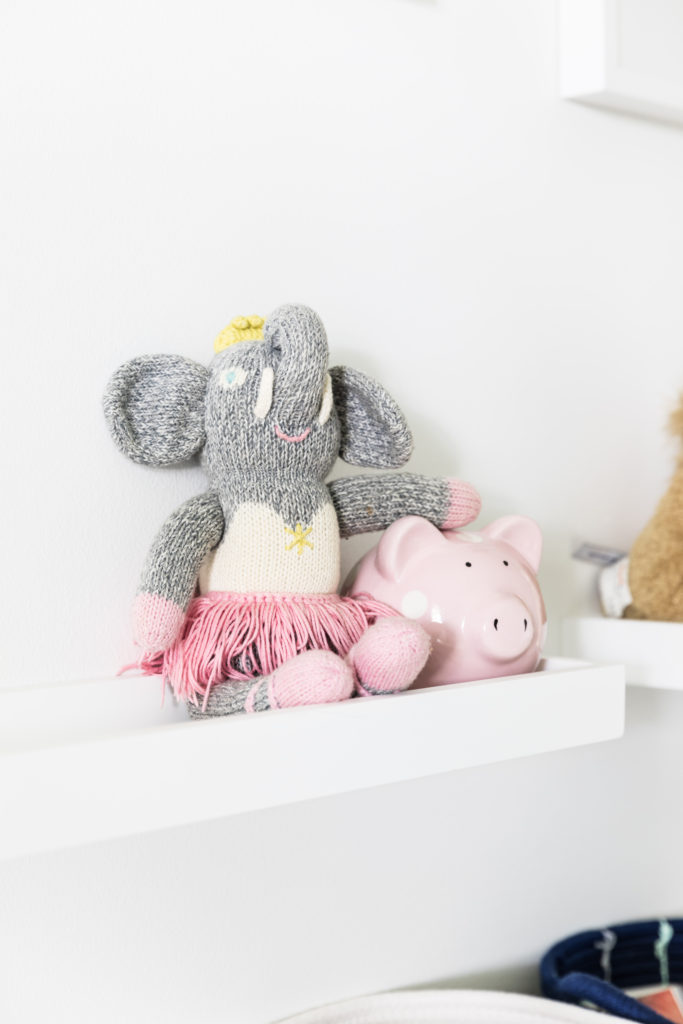
We put two desks side by side so each child has their own workspace. We also decorated above each desk to represent things special to that child. Lions and trucks for brother. Pink and sunshine for sister.
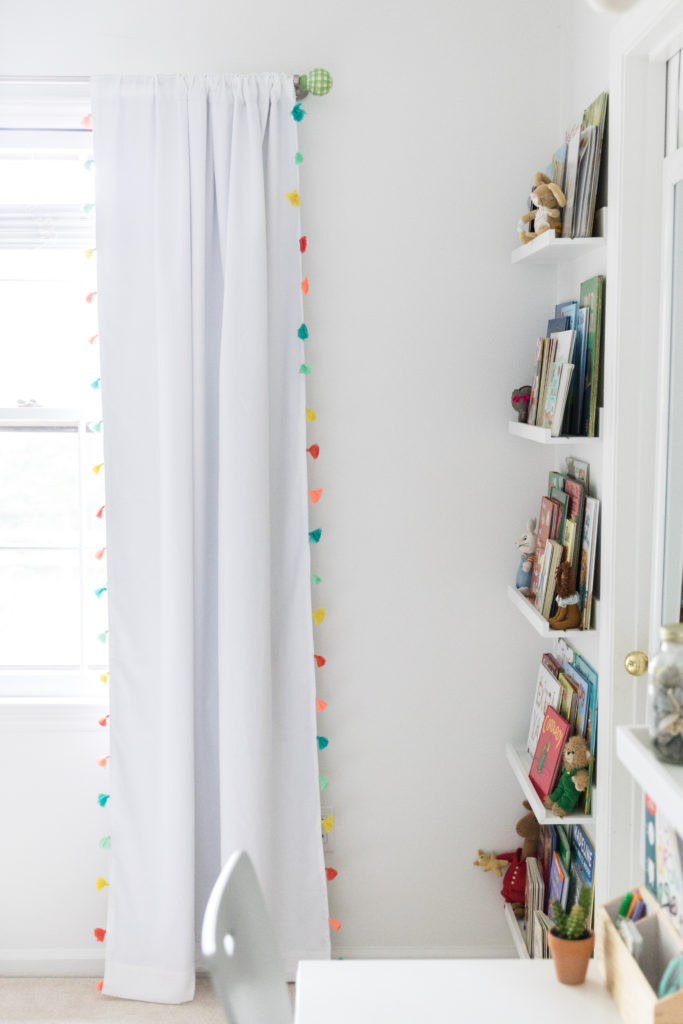
We didn’t skimp on design just because this room was for kids. We chose a cool ceiling fixture, curtains with a tassel trim, a rug to layer over the carpet, and hanging porthole mirrors.
And speaking of solutions, I recently gave an interview with House Method about decorating kids rooms—how to design for the long term and where to get inspiration. I shared even more ideas on how to approach kid spaces so that their rooms also get a thoughtful design but keeping in mind changing tastes and budget-friendly pieces.
I love a challenge so this room was a lot of fun to bring together. As I said, you have to let go a little if you are working within a tight budget but it can definitely be done! Just remember to put emphasis on the elements that will bring the room to life: lighting, textiles, and paint can do a whole lot!
Get The Look
Bunkbeds || Dressers || Similar Rug || Light || Similar Mirrors || Lamp || Similar Bedding || Similar Sconces || Ledges || Desks || Chairs *grey sold out || Curtains || Animal Heads
Paint color: Cooled Blue by Sherwin Williams
Wow! I love this!!
You did an amazing job. Love the colors combinations you have picked!